I then began to create the interior textures for the objects inside the car, once again I made a few mistakes, however I did learn them and will never do them again the major one not making sure that the ddo project was set for UE4. However one texture I will like to share with you is the carbon fiber one as done is from scratch in max through to PhotoShop and finally finishing in Unreal.
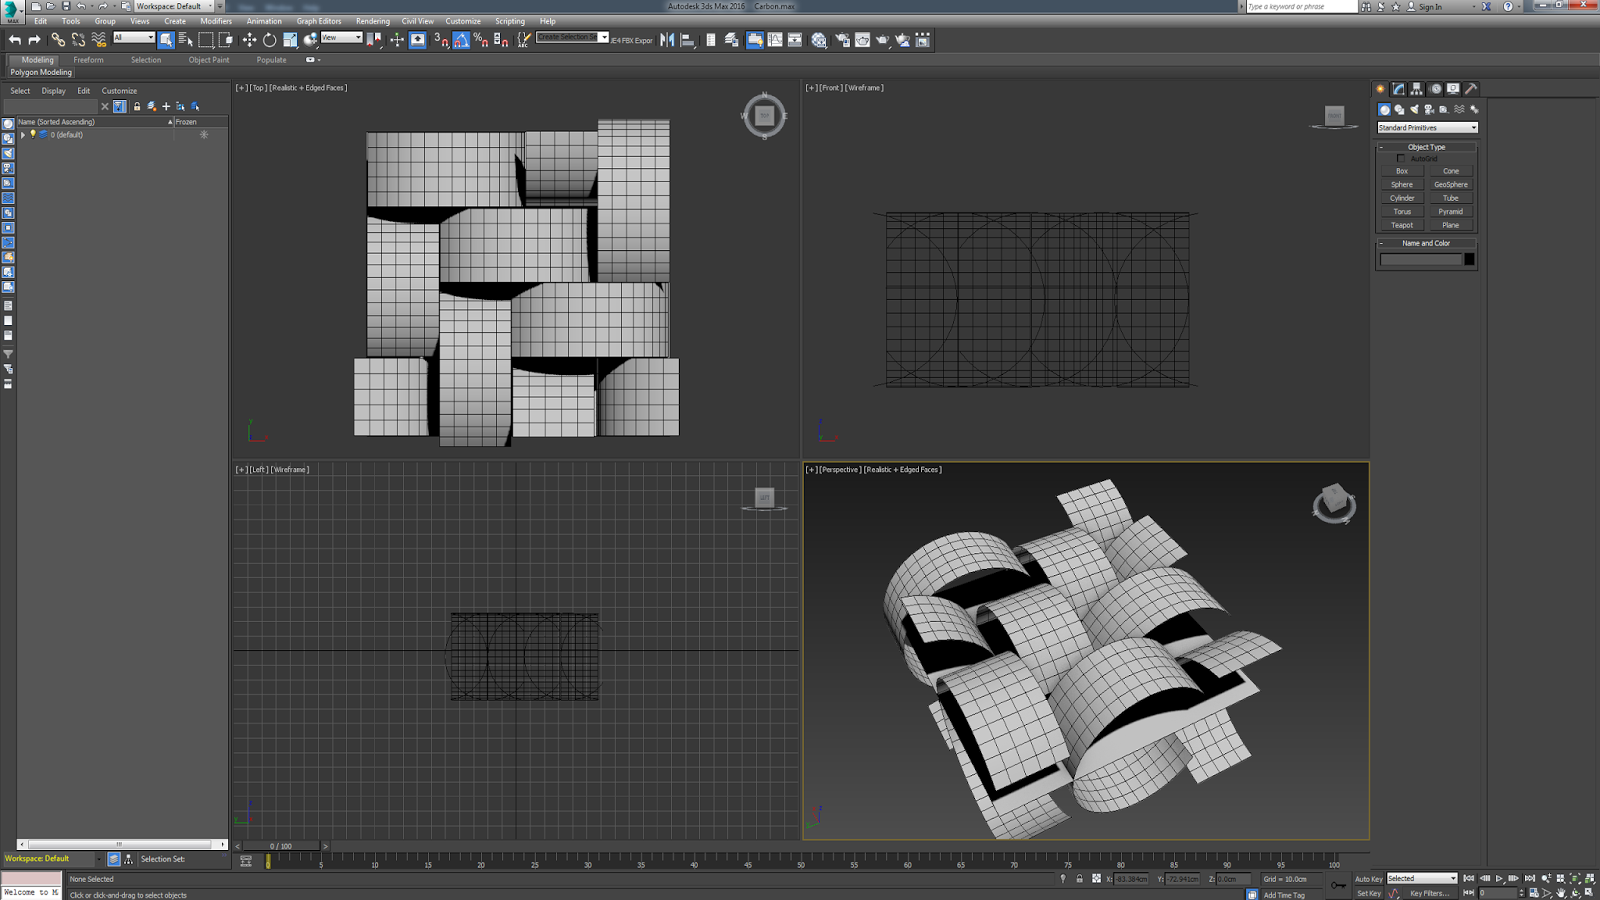
This is the mesh I created within max as you can see its fairly basic done using a cylinder removing the unnecessary polys and moving/rotating into place. Once I done that I ensure that it was also tileable texture.

This image and text explains how I went about creating the process of the textures before going into unreal to build the shader.

This shader was built up of three sections one the base to which I used my textures, then created a reflections mark and also reflections blending them together for the reflections I used a scene capture
cube as well for realism.

This Image shows the shader applied to the objects.

The next in the check list for me to do was create the interior paint shader as I needed it to be slightly different to the exterior one as needed it to be more Matt in appearance. I also needed to add some fine details for this I created a normal and ao map in ndo.

This Image shows the shader applied.

Another shader was made again for the doors as needed one with the same properties as the interior paint body but with out the normal and ao map.
No comments:
Post a Comment