Wednesday, 21 May 2014

Major Project Production #Environment Bushes


The next object I decided to create was bushes, this was so that I kept the consistency with the trees etc.

 To start creating my bushes for my game environment I started with the tree branches I created for the pine tree's. Created the main form from three different branches and then also altered them slightly.


I then created a plan and while doing so ensured that it was unwrapped filling the UV space, this usually does this automatically but wanted to be on the safe side. I then duplicated it many times while also changing the size and rotation this took a while. I wanted to show first the grey version.


 This is was what I was actually working with to give me the feel of where the branches need to go etc.


As I imported the mes into marmoset I noticed something strange my textures flipped so changed them. This was a test before putting it into engine.

This image shows what the fix version looks like.


Second bush was again taken from a branch from the tree's I made.


Again grey out version of the mesh to show what it really looks like without textures.


This is the object in 3ds max with textures.


Finally placed in marmoset before exporting into engine.


Keeping with the same fashion of the tree's I decided to make three bushes this one being the smallest.
There for not needing a branch. Grey out frame of the mesh.


Actual mesh and texture I used to get the idea of shape.


Marmoset improt before engine 


Finally started to get the bushes into the engine. Before doing so I setup Material ID's for the object so that it came in as one mesh. Allowing each part to have a different texture.


All Three lined up in engine 


Material setup.

Major Project Production Bike Parts #Final Bike Sheets


Major Project Production Bike Parts #New Texture Sheets

The same problem that happened with my character happened with my bike, This was down to overlapping UV space and other similar issues. To solve them I needed to redo the unwraps of both the frame and fork textures, this took many hours as it wasn't just a quick fix. It took me till the fourth attempt to succeed in getting the right unwrap for this object to work.


This is the new diffuse what I needed to do was recreate the frame from the image I took online. This was simple to a certain degree as I had reference unfortunately I came across an issue where writing would be on the top tube so decided to leave it out as it didn't really effect the over all look anyway. I also had to replicate the saint logo found on the crankarms to make it much sharper, will also adding brand names to certain objects like the Funn stem and Avid Code brakes. I created an AO pass from high poly meshes I baked, For example the frame, rotor and handle bars. The rotor was baked in 3ds max while the frame and bars was baked in X-normal. As I decided to import the bars and frame into zbrush and apply a simple light noise to the surface to give it some effect. 


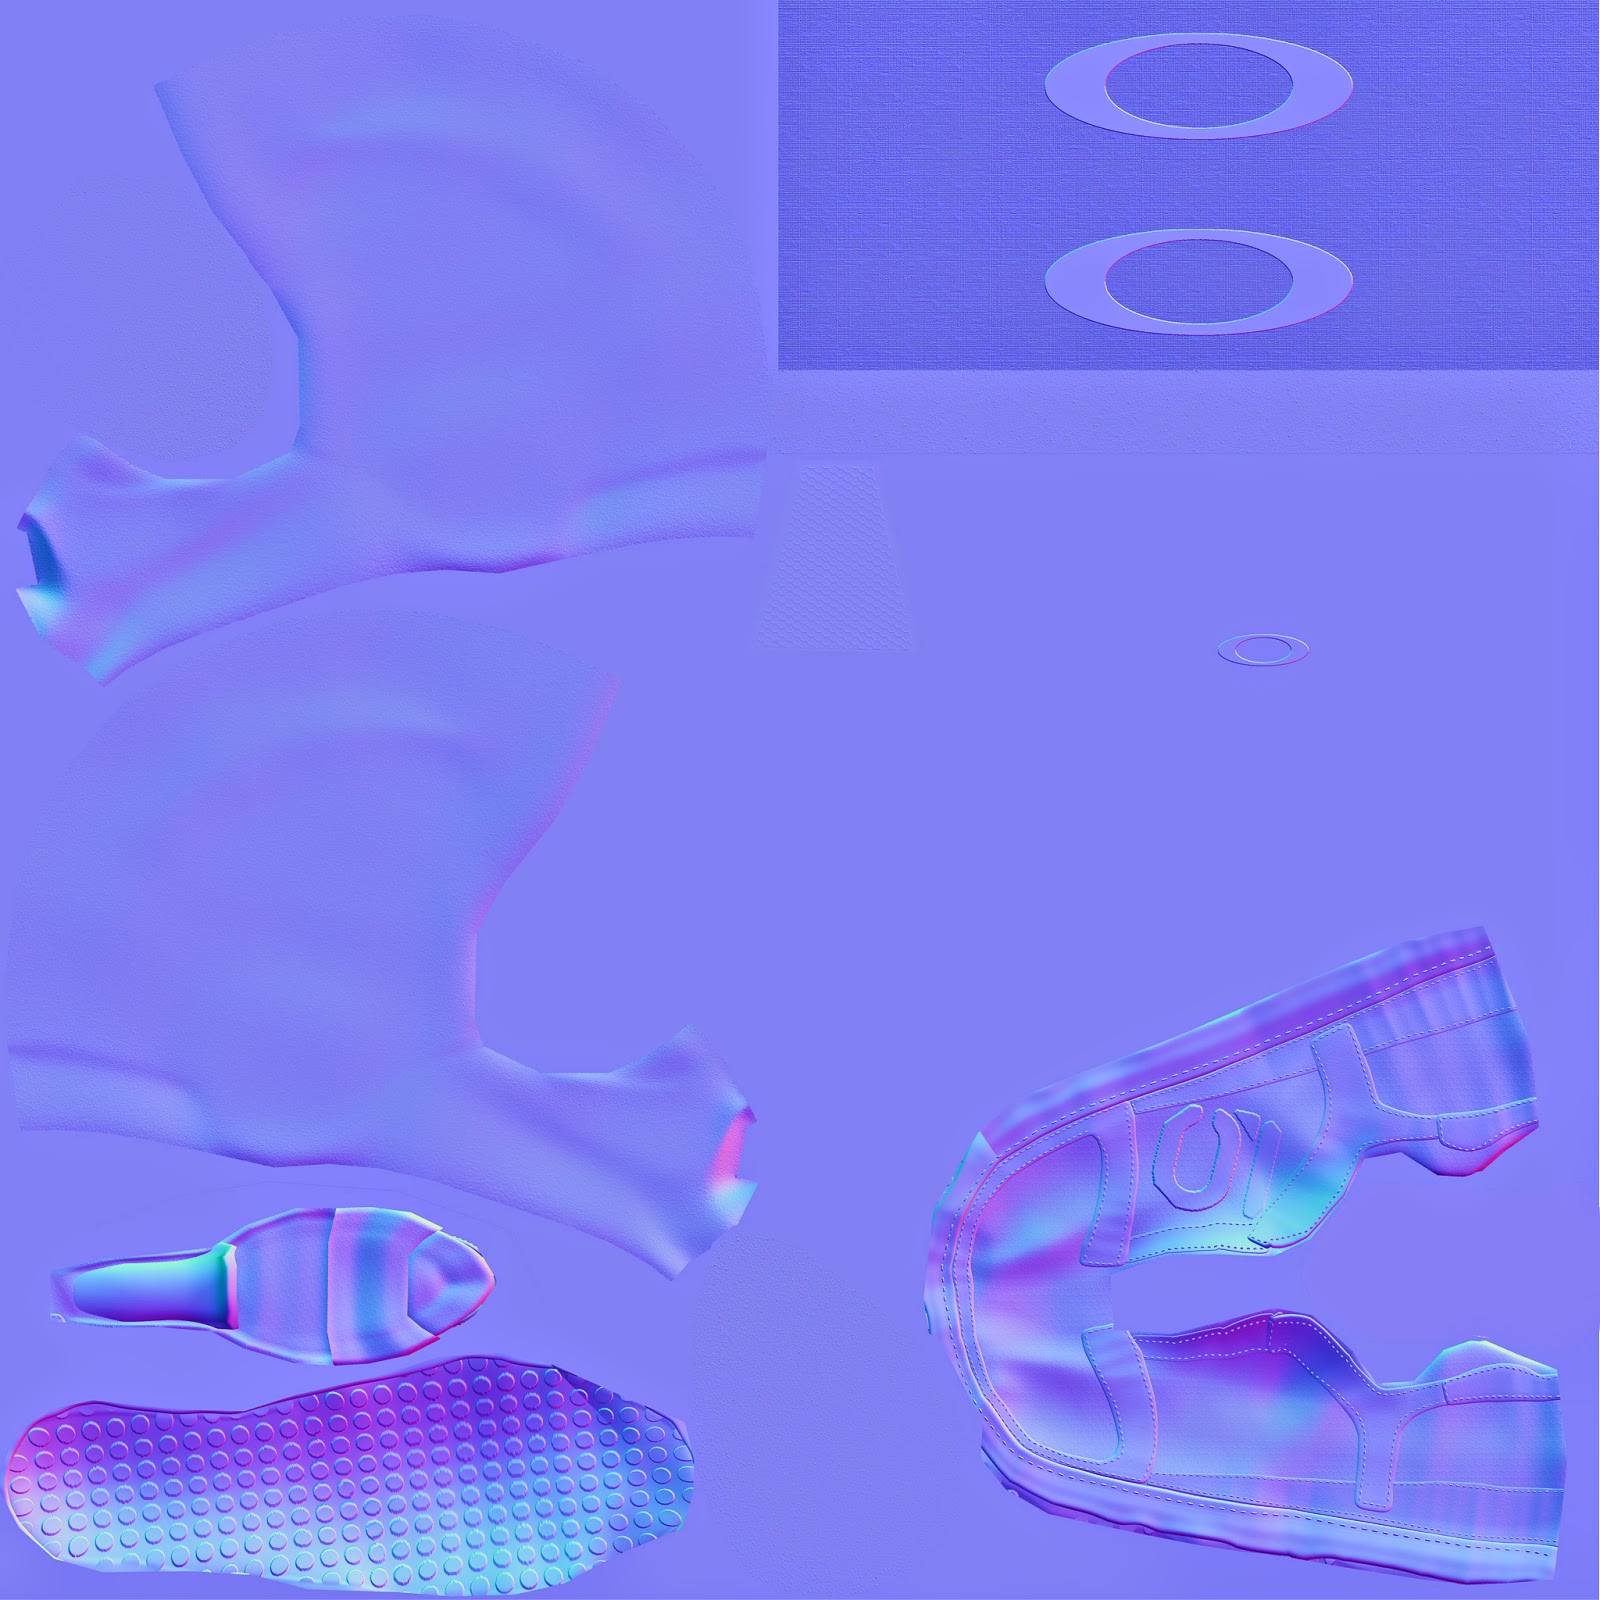
For the normal map I complied the bakes from both X-normal and 3ds max to create the final outcome. 


The spec Map was created with NDO using the normal maps as the input.


This was the next texture that needed to be changed, While trying to keep most of the stuff I already baked out with like the chain, cassette and spokes. But after slaving for hours I managed to come up with this texture sheet followed by more bakes like the shock area and barend caps. Sadly I have learned from my mistake and should not of but all these meshes on the sheet as you can tell some of them are flat colour and could of been avoided with just a simple shader instead. 


Normal maps consists of bakes from both max and X-normals, While the Fox decal was done with NDO.


The spec Was created by using NDO once again.


For my rubber and leather texture sheet though nothing changed and was able to compile all the textures easy enough.


Images taken from online sources and then photoshoped to fit in its place for the tire logos while the rest was baked out from Zbrush and X-normals.


I then followed the same process again for the normal map.


Spec map was again created with NDO.


Major Project Production Bike Parts #Seat Zbursh Sculpt

After looking at the seat texture I created in PhotoShop, I decided that it wasn't good enough and I wanted to make it different. To do so I decided to create my new texture in Zbrush.


To start off I masked off the area at the top of the seat.


By using the image found at the bottom of this post I was able to use PhotoShop to create a Alpha for me then to use with noise maker in Zbrush. 


This was the result of the noise maker and alpha I created. I then reversed the mask and applied noise to the bottom.


This is the outcome of the noise I applied at the bottom of the seat.


To add more detail I used a stitch brush and followed where the two materials joined together.


I then finally coloured the object in a black like shade, but also added another two stitch lines this time with colour representing the image below.

Reference of real world object.


Major Project Production Bike Parts #Work In Progress Renders

Work In progress renders of my bike 


At this stage I used an image of the frame itself that I found online I found that I was having problems down to the unwrap and also the image itself.


Main issue was that one side was back to front with the words facing the wrong way.


These are some More renders as the testing continued 


Major Project Production #Rider Character Sheets

Here are the final character Sheets of my character 


Monday, 19 May 2014

Major Project Production #Rider New Texture sheets

So after the process of reworking my unwraps several times, I managed to finally come up with this design. I understand that there is still a lot of free space however due to the time restrained I was under I needed to solve the problem quick. This then lead to me being able to project my work onto my low poly objects to create nice AO and normal maps.  


The Diffuse texture has the AO map overlaying the flat colours I created in Photoshop. The shorts and gloves diffuse I was able to get from the bake out of Zbrush. The rest of the diffuse I needed to create from scratch. This process I enjoyed as the graphics of the jersey was a real challenge for me to do as. I needed to ensure that the yellow lines and areas all lined up with each part so they looked right. The most painful part of the jersey was the Main ONE logo as the letter E stretch across the seam of the arm this too time to a line right. The knee pad I was unable to bake out the diffuse colour however managed to get a AO from X-normal so I just recreated the work in Photoshop. For the skin and face I took images from online and manipulated them to fit.


For the Normal Map I used the bakes I got from X-normal and complied them all together, I also used NDO to get the skin texture as a normal and Zbrush to get the normals for the gloves.

For the spec map I used NDO, this was done by taking my normal map and creating it into a specular this took a long time due to my 8k texture sheet.


The next character sheet was also constructed the same way all colour was created in Photoshop, While using the bakes from X-normal to overlay the colour to give shadow and depth. 


For the helmet itself I imported it into Zbrush allowing me to use noise maker to add a bit of surface detail, While also again complied my bakes onto one sheet. For the goggle straps I used NDO which took the diffuse colour sheet and created the map.


I used the same process for the the specular map of using my normal map and used NDO to create the map.