I started to work back on my character after completing the Organic Environment props. For this I imported the base mesh into zbursh. I then started to sub divide enough so that I could start adding detail. As I have learned many beginners start with high divisions, I made sure I did not make that same mistake.
This Image shows the imported mesh.
I slowly worked my way up the subdivisions adding in the major detail first and then going into the fine detail.
However I soon came across with a problem with my base mesh and needed to fix it. For this I used the Z-Remesh option creating a better flowing mesh.
This Image Shows the new mesh looks identical to the other shame I didn't capture a wire-frame shot instead.
I then used a method of projection making it possible to transfer what I have previously done on my old mesh onto the newly improved one without loosing detail and having to rework.
Started then to refine and add smaller details like seam lines.
However soon came to realise my seam lines were to thick I removed them, then decided to work more on the folds creating the folds around the arm pit area where the fan out.
I then got a little heavy handed and went a little bit crazy with creating folds as, this top is not a loose fitting as what the folds illustrate. As needed the top to look more tight fitting but not skin tight. This was the challenge for me.
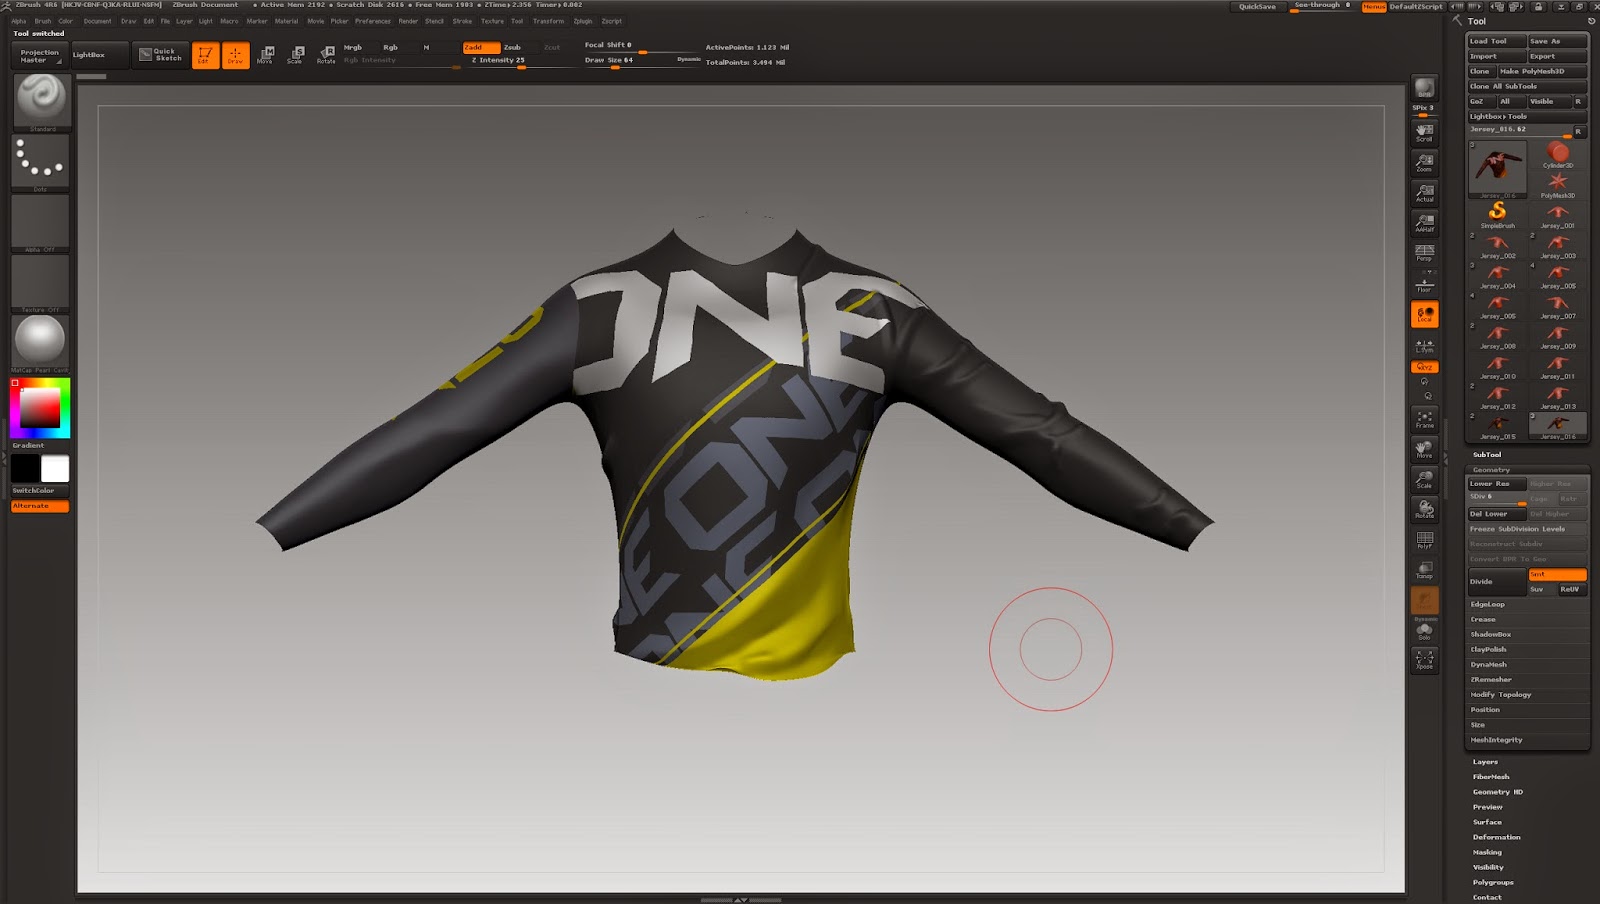
So decided to undo what I did on the arms and start again. But firstly I added a texture I worked on in Photoshop from scratch to the mesh to get a feel on what the top would look like. This Also shows another different mesh as I needed to unwrap the mesh again so that the arms wasn't overlapping allow me to create the new texture sheet. I did the same method of project the detail onto the new mesh.
This image shows a back view of what the mesh and texture looks like at that stage.
This image shows my work on the folds of the right hand side.
This image shows my work on the folds of the left hand side.
Then worked my way around the body to the back again creating small folds around the back of the arms, at the top of the shoulders and neck area. While create much larger folds at the base of the lower back just like the ones at the front.
This Image Shows the final out come of the front view with the final texture applied.
This Image Shows the final out come of the back view with the final texture applied.
After Completing the mesh I decided to export the High poly mesh for use in X-normals where I can use it to create a Normal map and AO map.
After Completing the mesh I decided to export the High poly mesh for use in X-normals where I can use it to create a Normal map and AO map.


No comments:
Post a Comment